Using forms

In this article, you can read how to use a form or protocol in the EMR.
If you want to know how to create a form, please read Creating forms.
Read more about setting default forms in the article Set default form.
You use forms within the patient file. If you have set up default forms for medical history, episodes, or treatments, these will automatically open when you create a new patient, episode, or treatment, respectively.
If no default form is set, you have the option to manually add a form.
Using medical history or episode forms
To use a medical history or episode form, first unlock the EMR.
Click on [+ Add form] to add a form.
Select the desired form by clicking the checkmark at the end of the corresponding row. You can choose where you want to add the form: Below or above the already existing forms.

Tip: If you're unsure which form you want to use, click on the eye icon to open a preview before selecting your form.
The form will open and is ready to be filled in. If you wish to change the order of the forms, you can do so using the arrow icons. This allows you to move the form further up or down. You can delete the form using the trash can icon.
When you are finished editing, lock the form again.
Tip: Make sure you have the correct tab open (episode or medical history).
Using treatment forms
If no treatment has been registered yet, register it first, either via the appointments bubble or directly in the EMR.
To register via the appointments bubble, click on the [+ Register treatment] button:
Or via the EMR, click the [+] button next to the selected appointment.
If there is no appointment in the calendar and you still want to register a treatment, click on the button below:
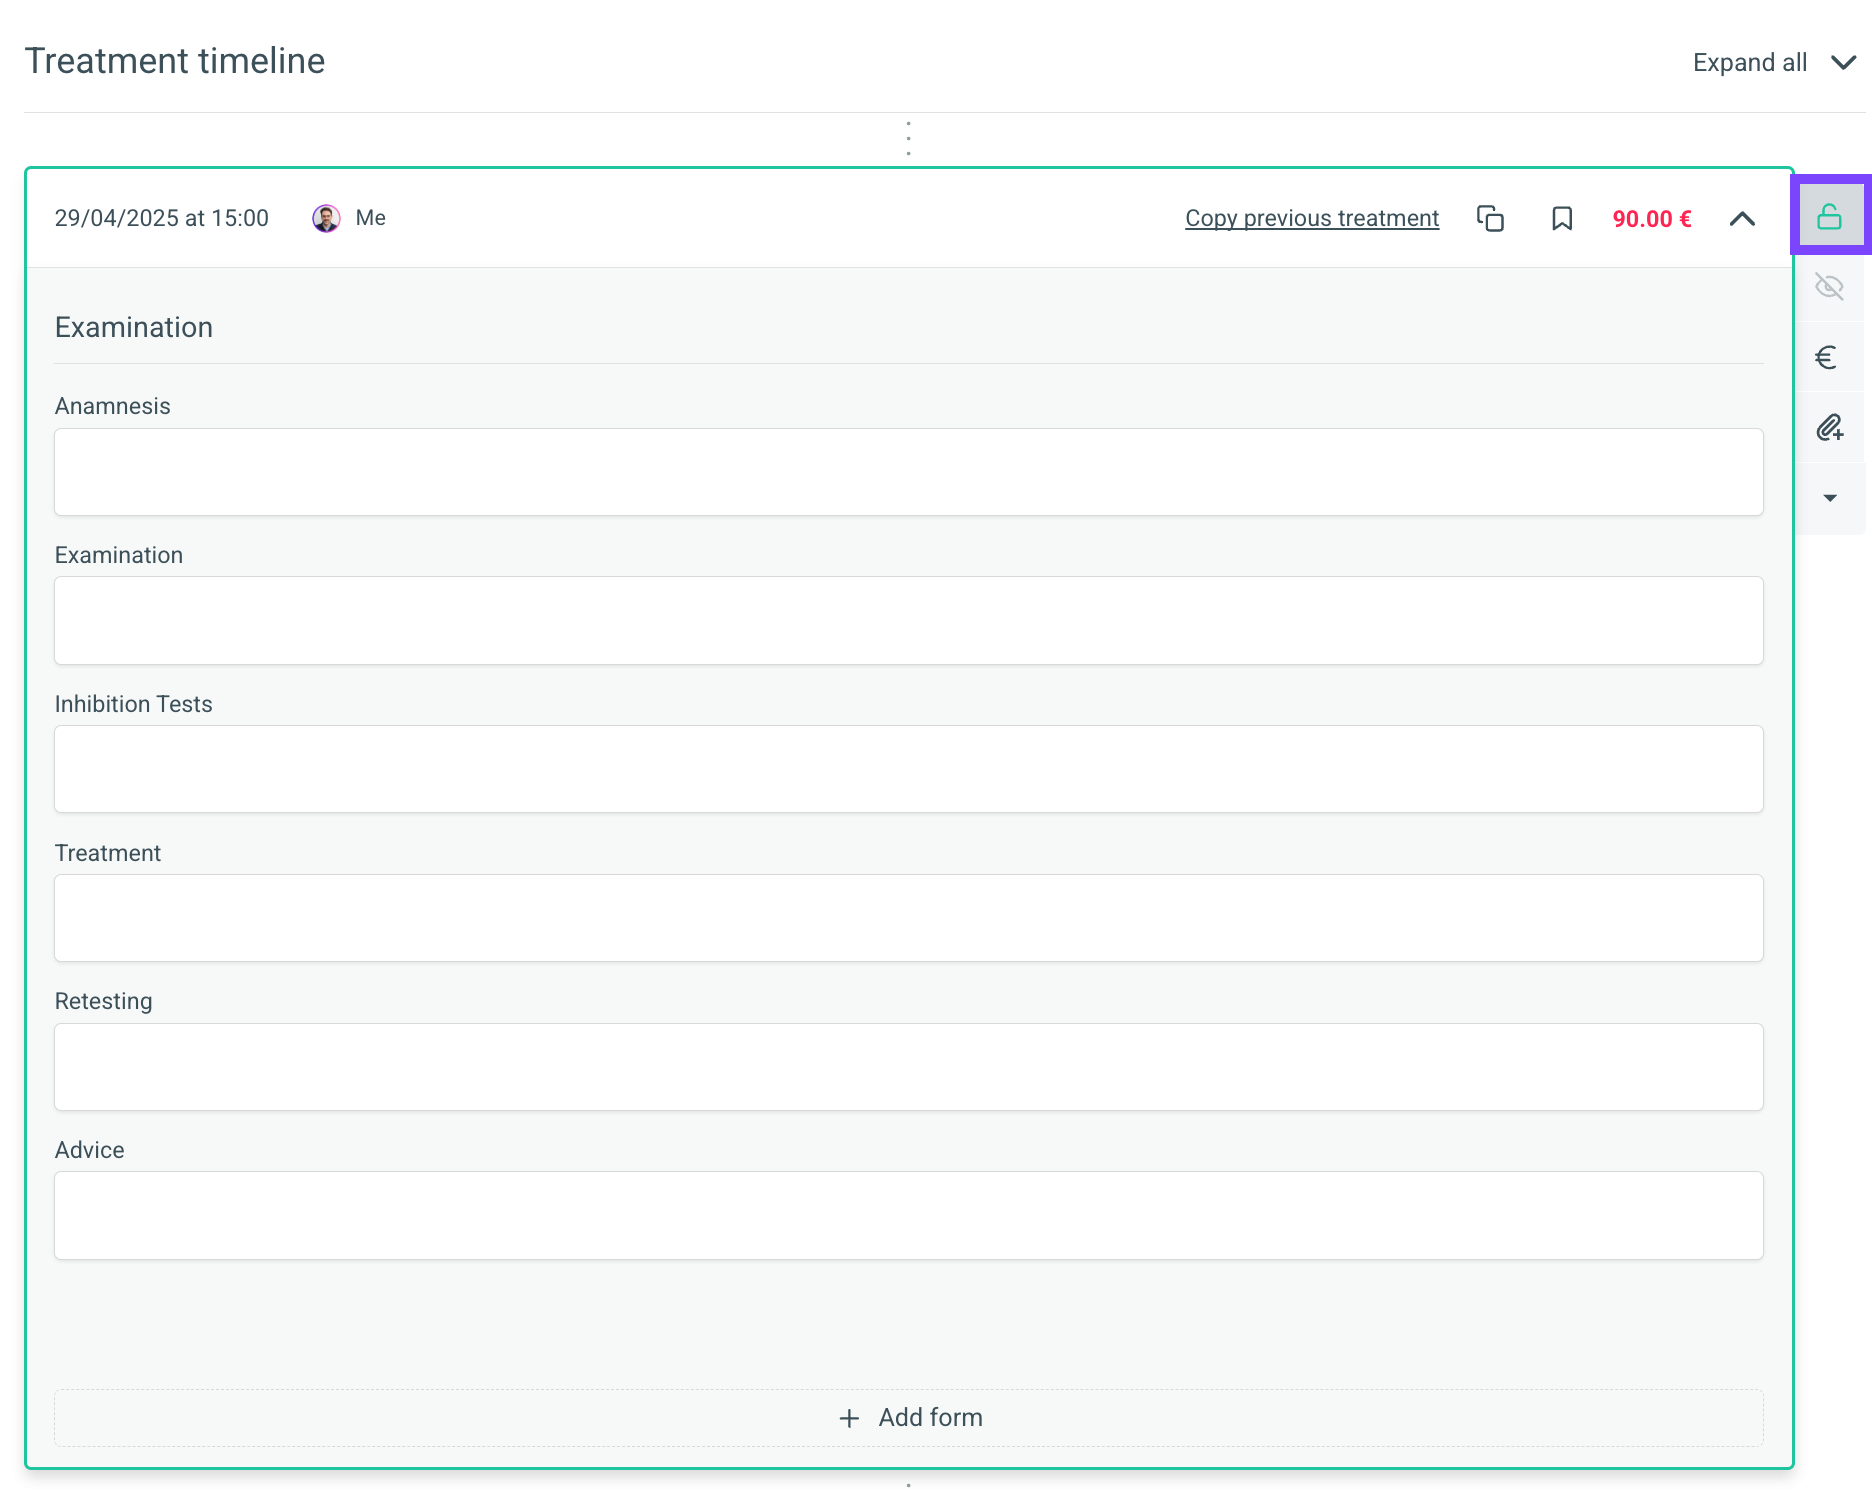
After registering a treatment, the treatment notes will open.
Click on [+ Add form] to add an (additional) form.
Once you have finished editing the treatment notes, lock the treatment by clicking on the lock icon.
Sharing forms with patients
In the patient file, go to the shared forms tab and click on [Share a form].
A pop-up will open. Select the desired forms.
Choose the desired email template and click [Share forms] to send the forms to the patient.
Tip: By clicking the [Preview] button, you can view a preview of the email.
The sent forms are now in the list.
When the patient has completed the questionnaires, you will see a red dot appear in the EMR, indicating that the forms have been filled in.
Link the forms by clicking on the three dots and selecting the desired location in the EMR.
Tip: It is also possible to share a form directly from the complaint or medical history. When these are completed, they will be linked automatically. You can do this by sharing the form from the complaint or medical history tab instead of the shared forms tab.
Related Articles
Creating Forms
You use forms in the EMR. They are linked to a patient's medical history, an episode, or a treatment. You can read how to create a form here. If you want a form to open by default when creating a new patient, episode, or treatment, please read the ...Signature module in forms
Add to form A signature field for the patient can be added to forms and questionnaires. Go via [Settings] > [EMR] to [Forms library]. Here you can create a new form or modify an existing one. Additional explanation about this can be found in this ...Using flags
Flags are used in the calendar and in the patient file to find information at a glance. Go to [Settings] > [Patient] > [Flag categories]. Create a new category with the [+] button or modify an existing category with the button. Select the name and ...C1. Frequently Asked Questions After the Transition (FAQ)
How do I create a new booking link to replace my old one on the website? With Crossuite QI, you can now create and edit your own booking link. The link automatically adapts, so you don't need to replace anything on your website, even after making a ...A3. Your data during the transition: what's included and what's not?
During the transition to Crossuite QI, we automatically include a large part of your practice data, such as patient information, documents, appointments, and financial data. However, some data is not migrated, such as certain templates, emails, or ...