Create / edit an invoice template
Navigate to settings
Go to settings, navigate to [Finance], then to [Invoicing], and finally click on [Document templates] to adjust the template.
Modify an invoice template
You can modify an existing template with the [ ] button next to the invoice template. The menu below allows you to adjust the name and language of the invoice.

With the download button, you can download the template to modify in Microsoft Word.

If you experience a problem downloading, you can resolve this issue by clicking [Save template] and downloading the file again.
The file editor offers functions specifically aimed at modifying invoices. Therefore, we recommend it. Click [Edit] to open the file editor. 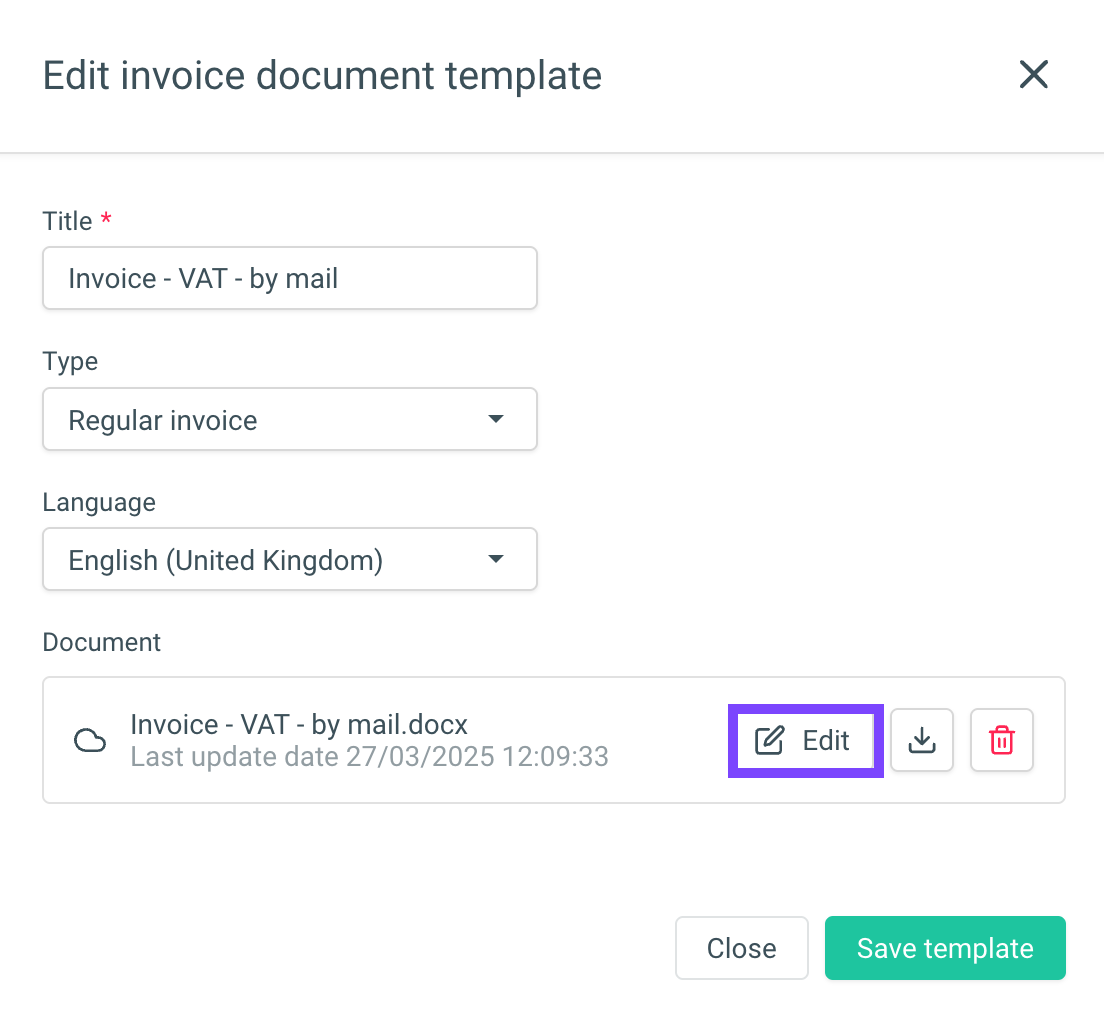
You cannot modify system templates. If you want to make changes to a system template, press [⋮] in the invoice list. Then click [Copy template] to copy the template.
Using the file editor

To copy and paste into the file editor, the "[Use Local Clipboard]" option must be enabled. You'll find this option in the top left corner, and you'll know it's enabled by the gray background.
Insert merge tags
Merge tags are fields where data is automatically filled in, such as the practitioner's name, or payment details.
All merge tags are displayed in the menu on the left. Navigate between the categories on the left to find merge tags.
Searching for merge tags may be faster than finding them within the categories.
Example: Searching for 'Invoice' shows various results such as: 'Invoice date', 'Invoice number', and 'Invoice currency'
Click in the document where you want to add the auto-field. Then click on the desired auto-field on the left. You will now see a notification that the auto-field has been added to your document.

If you want to display an amount with '.00' like in '€30.00', add the text '|fixed' to the auto-fields, like in '{invoice.paid_rate|fixed}'. If you do not want to see decimal places, like '€30' instead of '€30.00', remove '|fixed' from the auto-field.
Done editing? Close the editor with the [X] at the top right corner. Now press [Save template] to apply your changes.
Related Articles
Create an invoice
Crossuite provides some standard templates for invoice creation. It is also possible to create your own templates. You can create an invoice via calendar view or via a patient record. To create an invoice via the calendar view, click on the relevant ...Modify email when sending invoice
If you want to send the invoice by email and select a different email template or add something extra to the accompanying email to the patient, use the 'Preview email' function. Within the invoicing panel, click the arrow at the bottom right and then ...Upcoming appointment date on your invoice or communication
Add next appointment merge tag to your invoice You can read how to modify an invoice template in the article: Create / edit an invoice template When modifying the invoice template, you'll find the merge tag [Date of next appointment] under the ...Create/Edit Report/Document Template
To create a new template, go to the settings and click on [Documents] and then on [Document template]. Clicking the button allows you to create a new template. Now the screen to configure your template will open. Here you set the following settings: ...Invoice presets
Updating the configuration of the presets affects all colleagues in the practice. Presets automate and expedite the creation of invoices. Go to [Settings] > [Invoicing] > [Presets] and click [+]. (Create a new billing preset) Give the preset a title. ...